
Troubleshooting Limit Switch Issues
- Issue: The machine won't reference.
- Cause: There may be broken or loose wires, defective switches, or problems with limit switch alignment.
- Solution: Gather the required tools and perform the following steps.
Required Tools
Some troubleshooting procedures require the following tools. Make sure you have them available for possible use.
- #1 Phillips screwdriver
- Flat-blade screwdriver
- Flashlight to identify correct wires and terminals
- Needle-nose pliers
- Short piece of wire to use as a jumper cable
Initial Troubleshooting
Follow these steps to determine on which axis the limit switch isn't functioning.
WARNING! Automatic Start Hazard: The machine could start at any time and injure you. To prevent injury, you must thoroughly read all instructions before you try to complete any procedure.
-
Power on the machine and the PathPilot® controller.
- Turn the Main Disconnect switch to ON on the right side of the electrical cabinet.
- Twist out the Emergency Stop button on the operator
- Press the Start button on the operator
- Bring the machine out of reset and reference it.
- From the PathPilot® interface, on the Main tab, click REF Z, REF X, then REF Y.
-
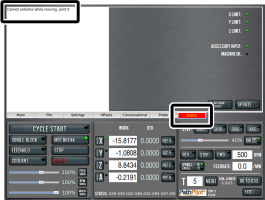
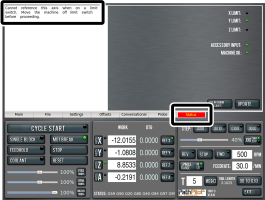
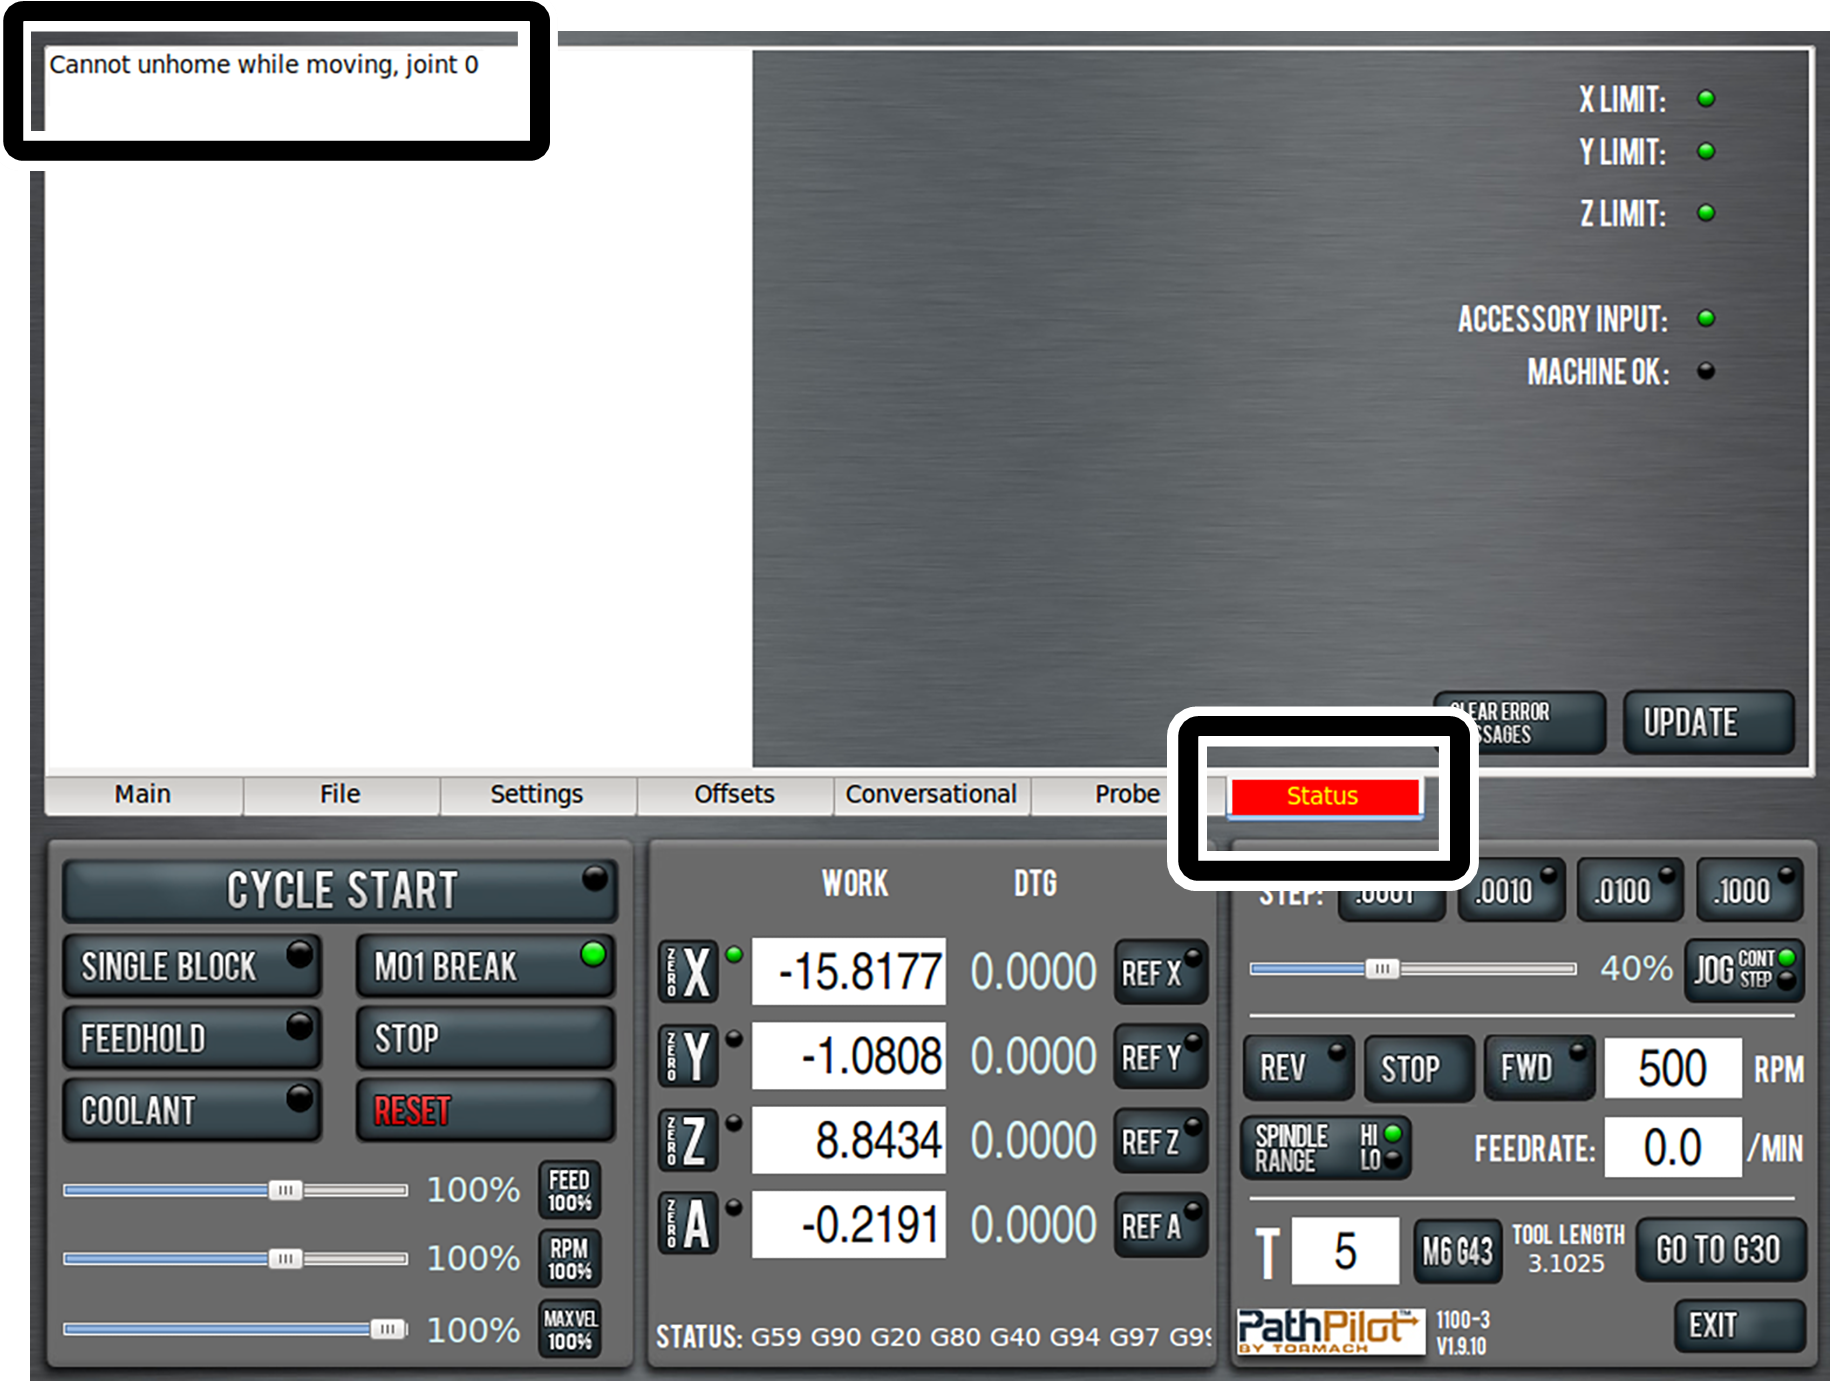
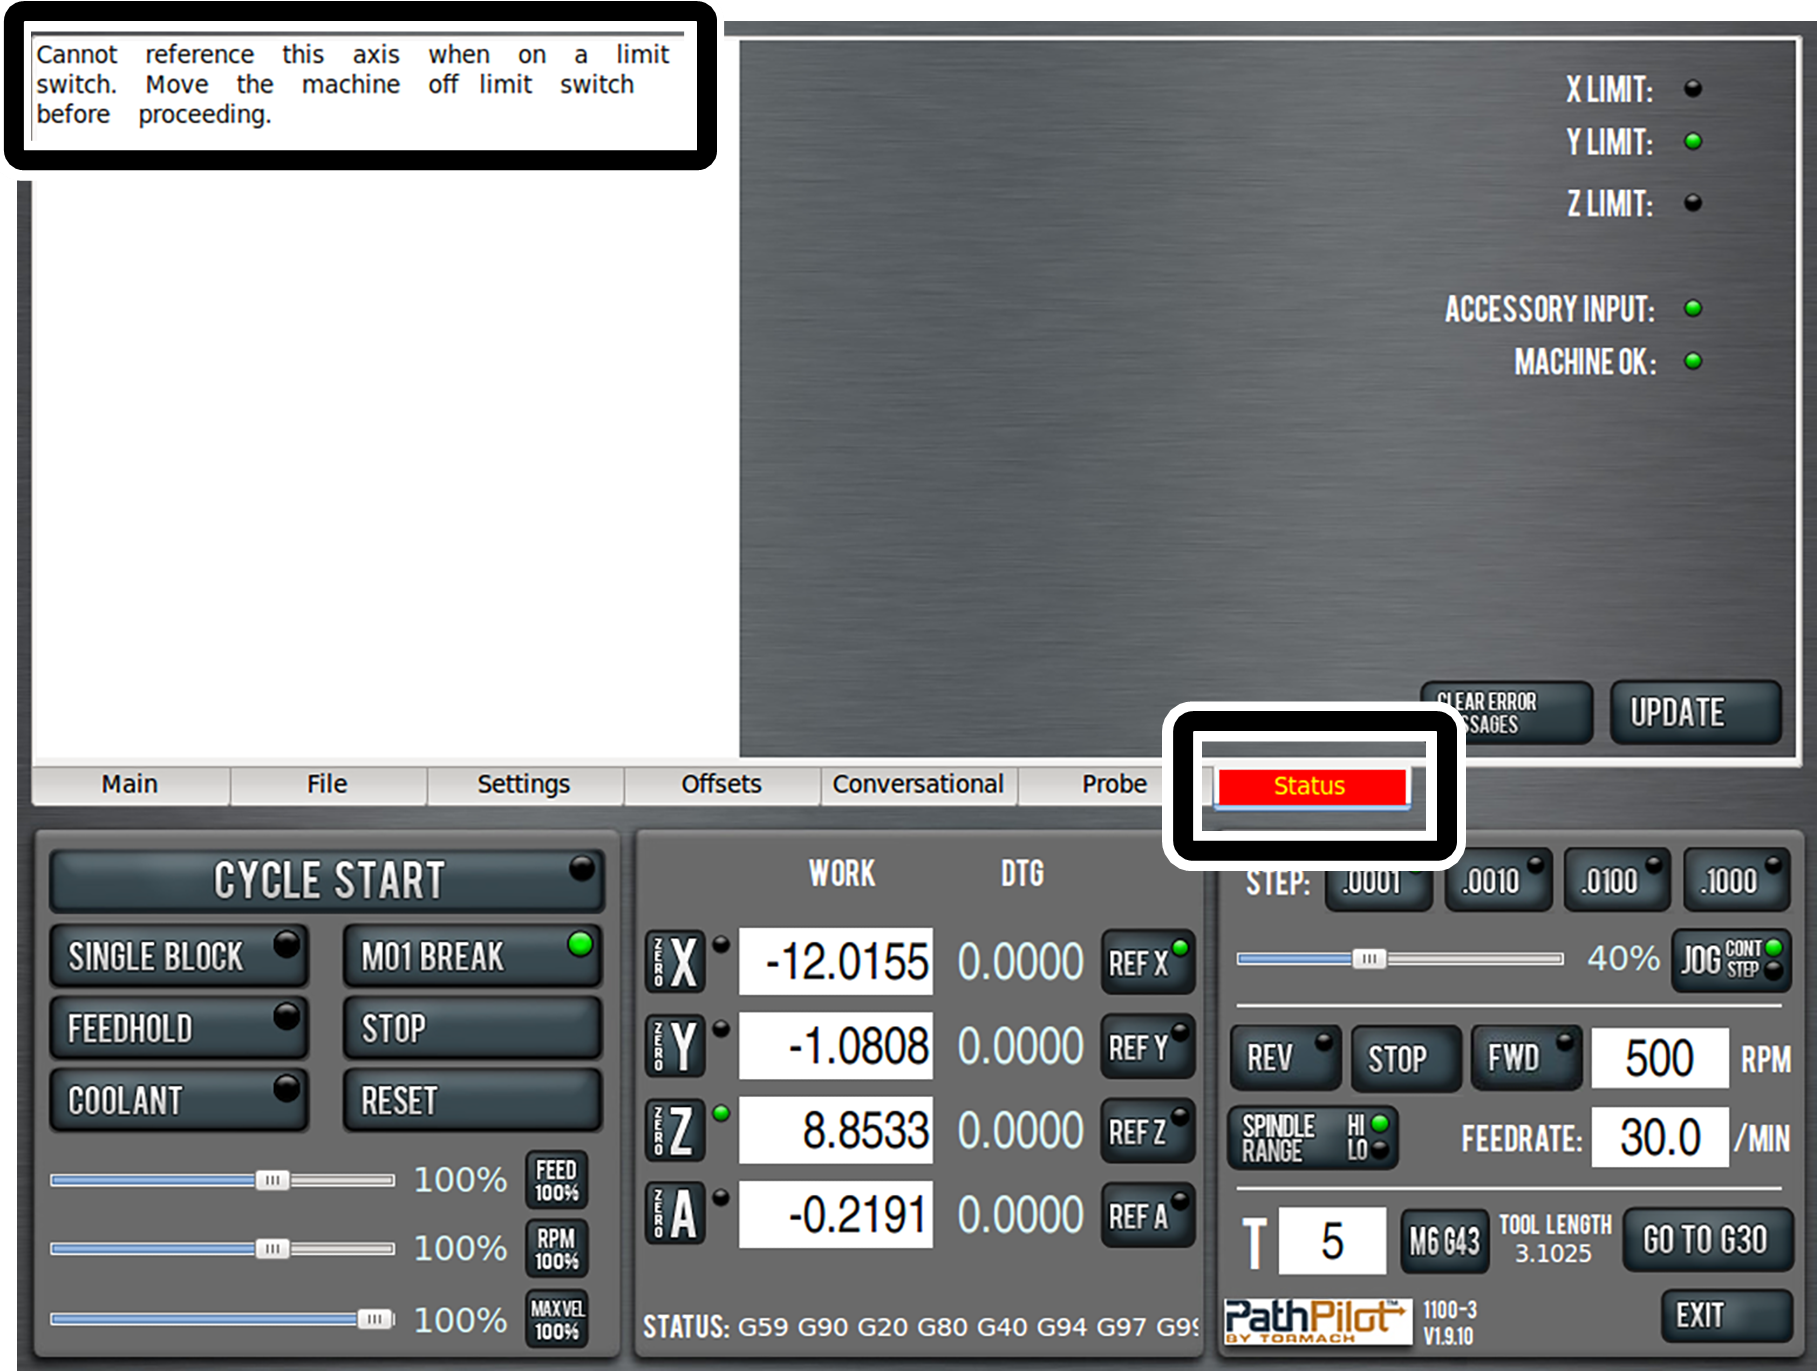
On the Status tab, examine the Notebook section for an error message. The first image shows an error message that indicates a shorted limit switch circuit. The second shows an error message that indicates an open limit switch circuit.
-
Push in the emergency stop button on the operator
Do you see limit switch entries in the Notebook section of the Status tab?
- Yes, the Notebook section displays "Cannot unhome while moving, joint 0": Go to Examine the X-Axis Limit Switch.
- Yes, the Notebook section displays "Cannot unhome while moving, joint 1": Go to Examine the Y-Axis Limit Switch.
- Yes, the Notebook section displays "Cannot unhome while moving, joint 2": Go to Examine the Z-Axis Limit Switch.
- Yes, the Notebook section displays "Cannot reference ...": Go to Examine Limit Switch Lights.