
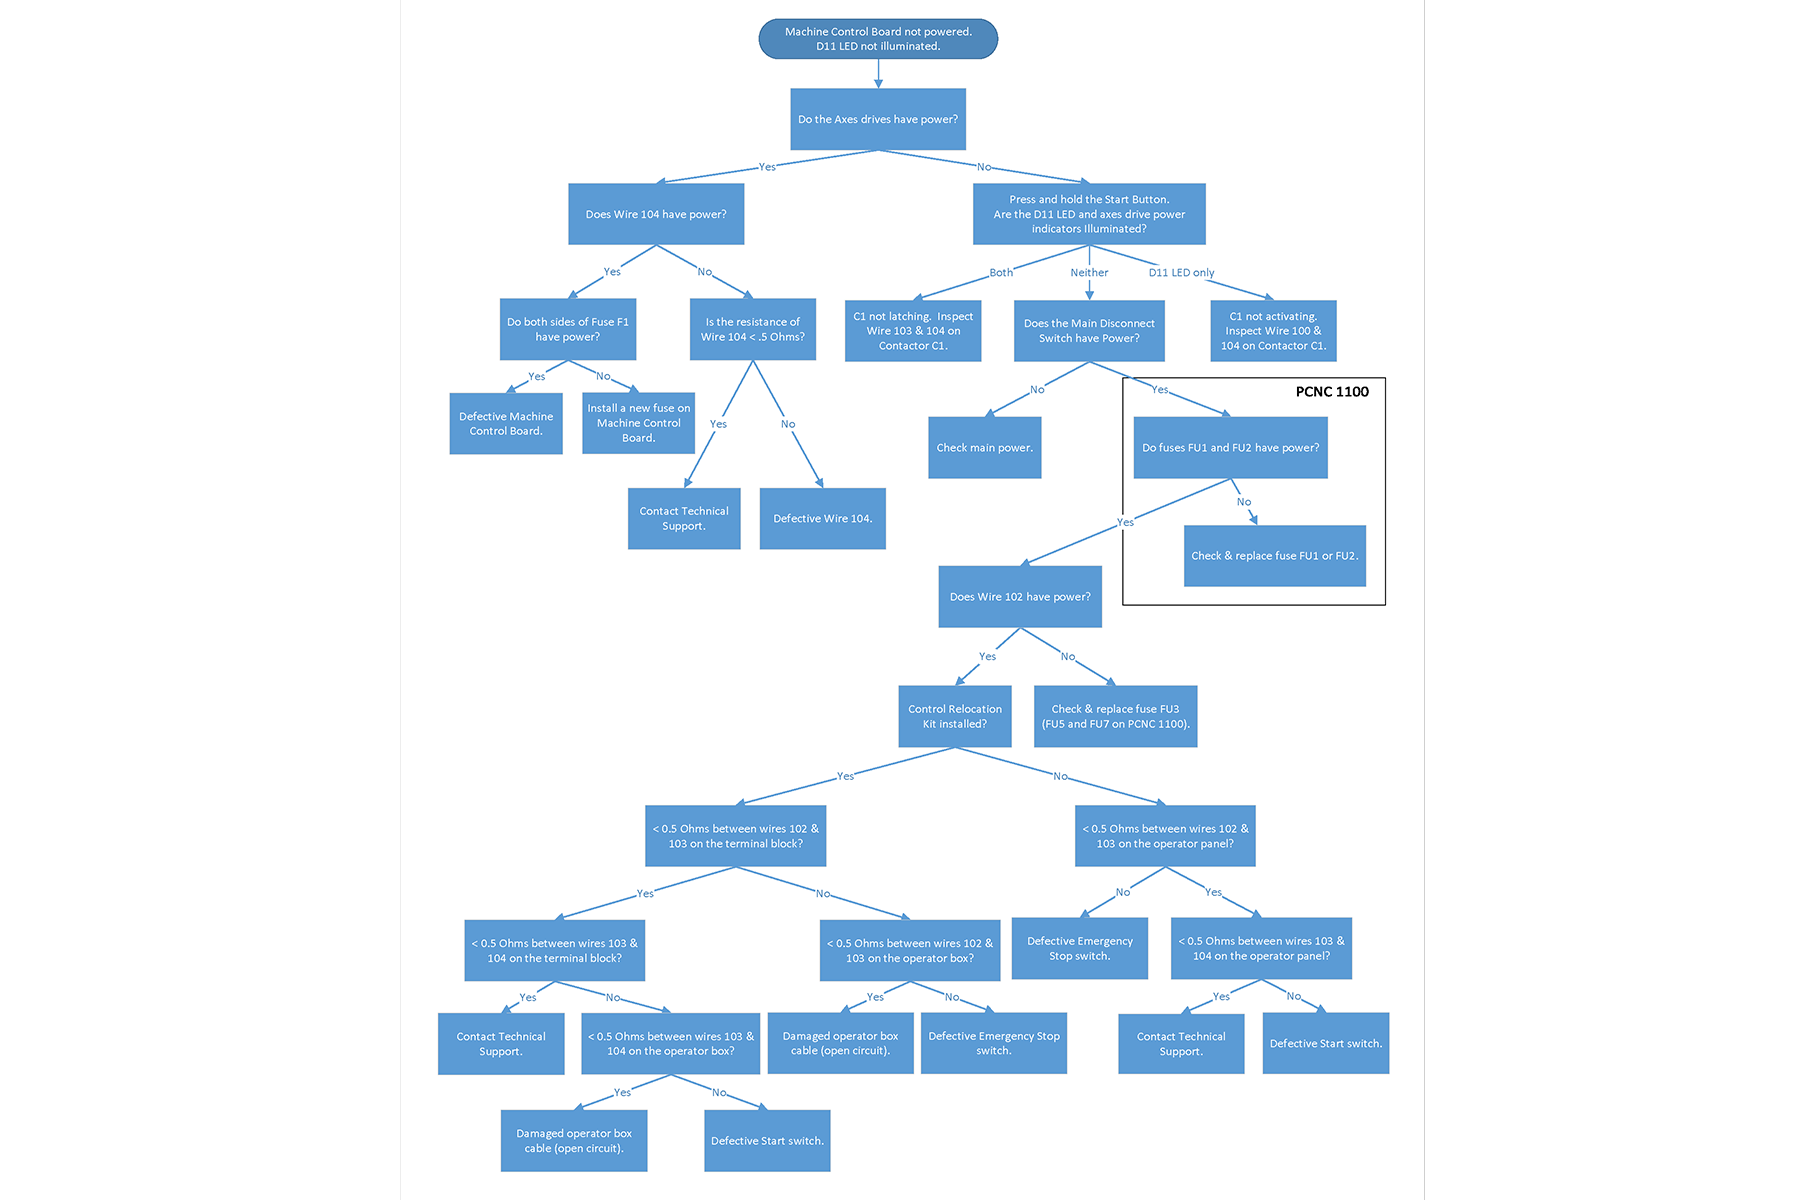
Install a New Fuse on the Machine Control Board
Overview/Background Information
What Steps Have I Already Taken?
Before You Begin
If you haven't yet done so:
-
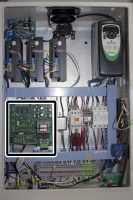
Open the electrical cabinet door.
WARNING! Electrocution Hazard: When servicing the machine from inside the electrical cabinet, always use caution. Points in the electrical cabinet have high voltages that can electrocute or shock you. Even after you've powered off the machine, electronic devices in the electrical cabinet may retain dangerous electrical voltages. Only qualified electrical machinery technicians should perform maintenance or troubleshooting procedures inside the electrical cabinet while power is still on.
-
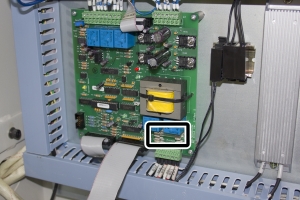
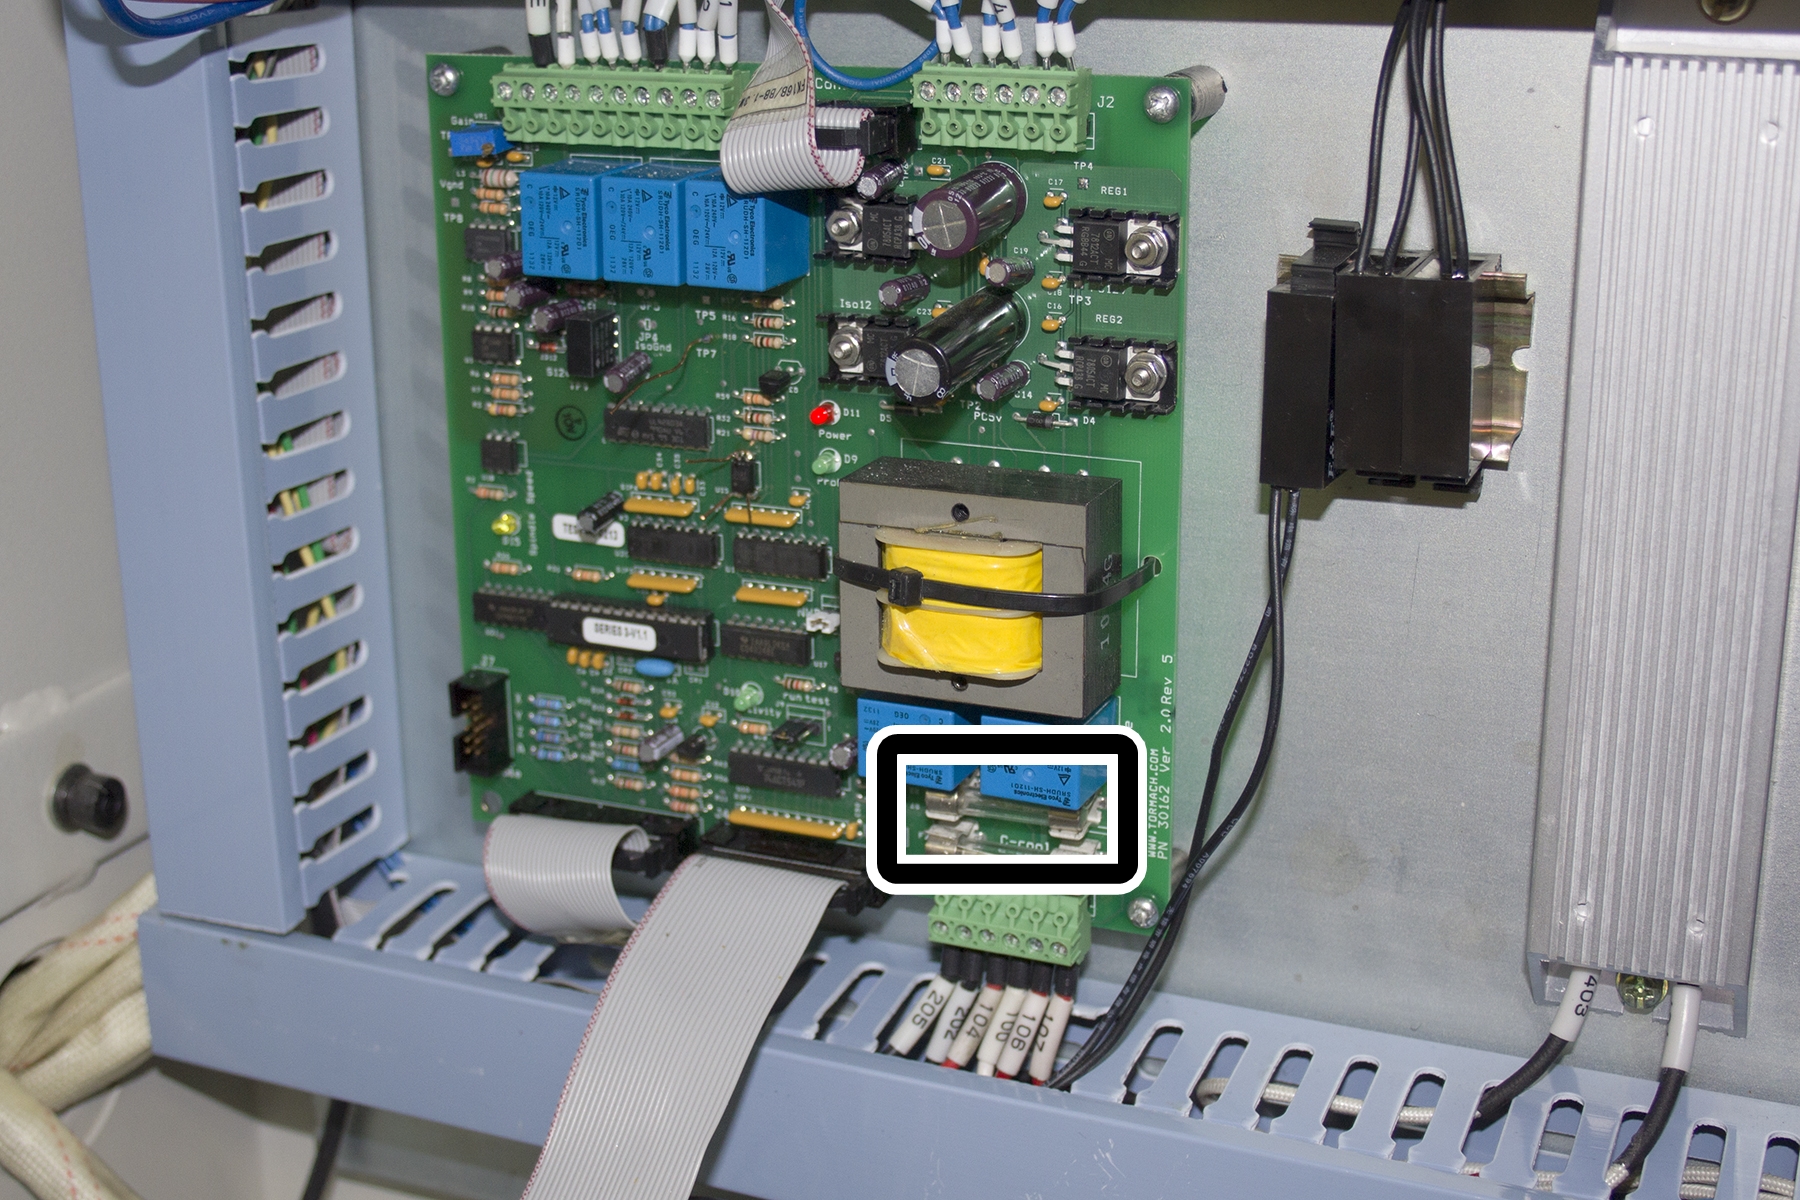
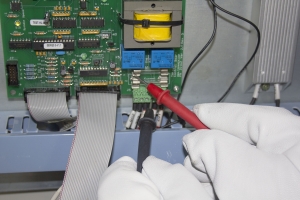
Locate the Machine Control Board and fuse F1.

Troubleshooting Steps
-
Power off the machine and the PathPilot® controller.
- Push in the Emergency Stop button on the operator
- From the PathPilot® interface, click Exit.
- Turn the Main Disconnect switch to Off on the side of the electrical cabinet.
-
Follow correct lockout/tagout procedures.
- Push in the Emergency Stop button on the operator
-
- Set the multimeter to OHMS mode.
- Measure the resistance on the fuse.
- On the multimeter, read the OHMS that display. The value should be from 0.0 to 0.5 OHMS.
-
If the value of 0.0 to 0.5 OHMS doesn't display, you must replace the fuse.
CAUTION! Electrical Hazard: When replacing a fuse, only use a fuse that's rated for the same amperage as the original. If you don't, there's a risk of machine damage.
-
Power on the machine and the PathPilot® controller.
- Turn the Main Disconnect switch to ON on the right side of the electrical cabinet.
- Twist out the Emergency Stop button on the operator
- Press the Start button on the operator
- Bring the machine out of reset and reference it.
-
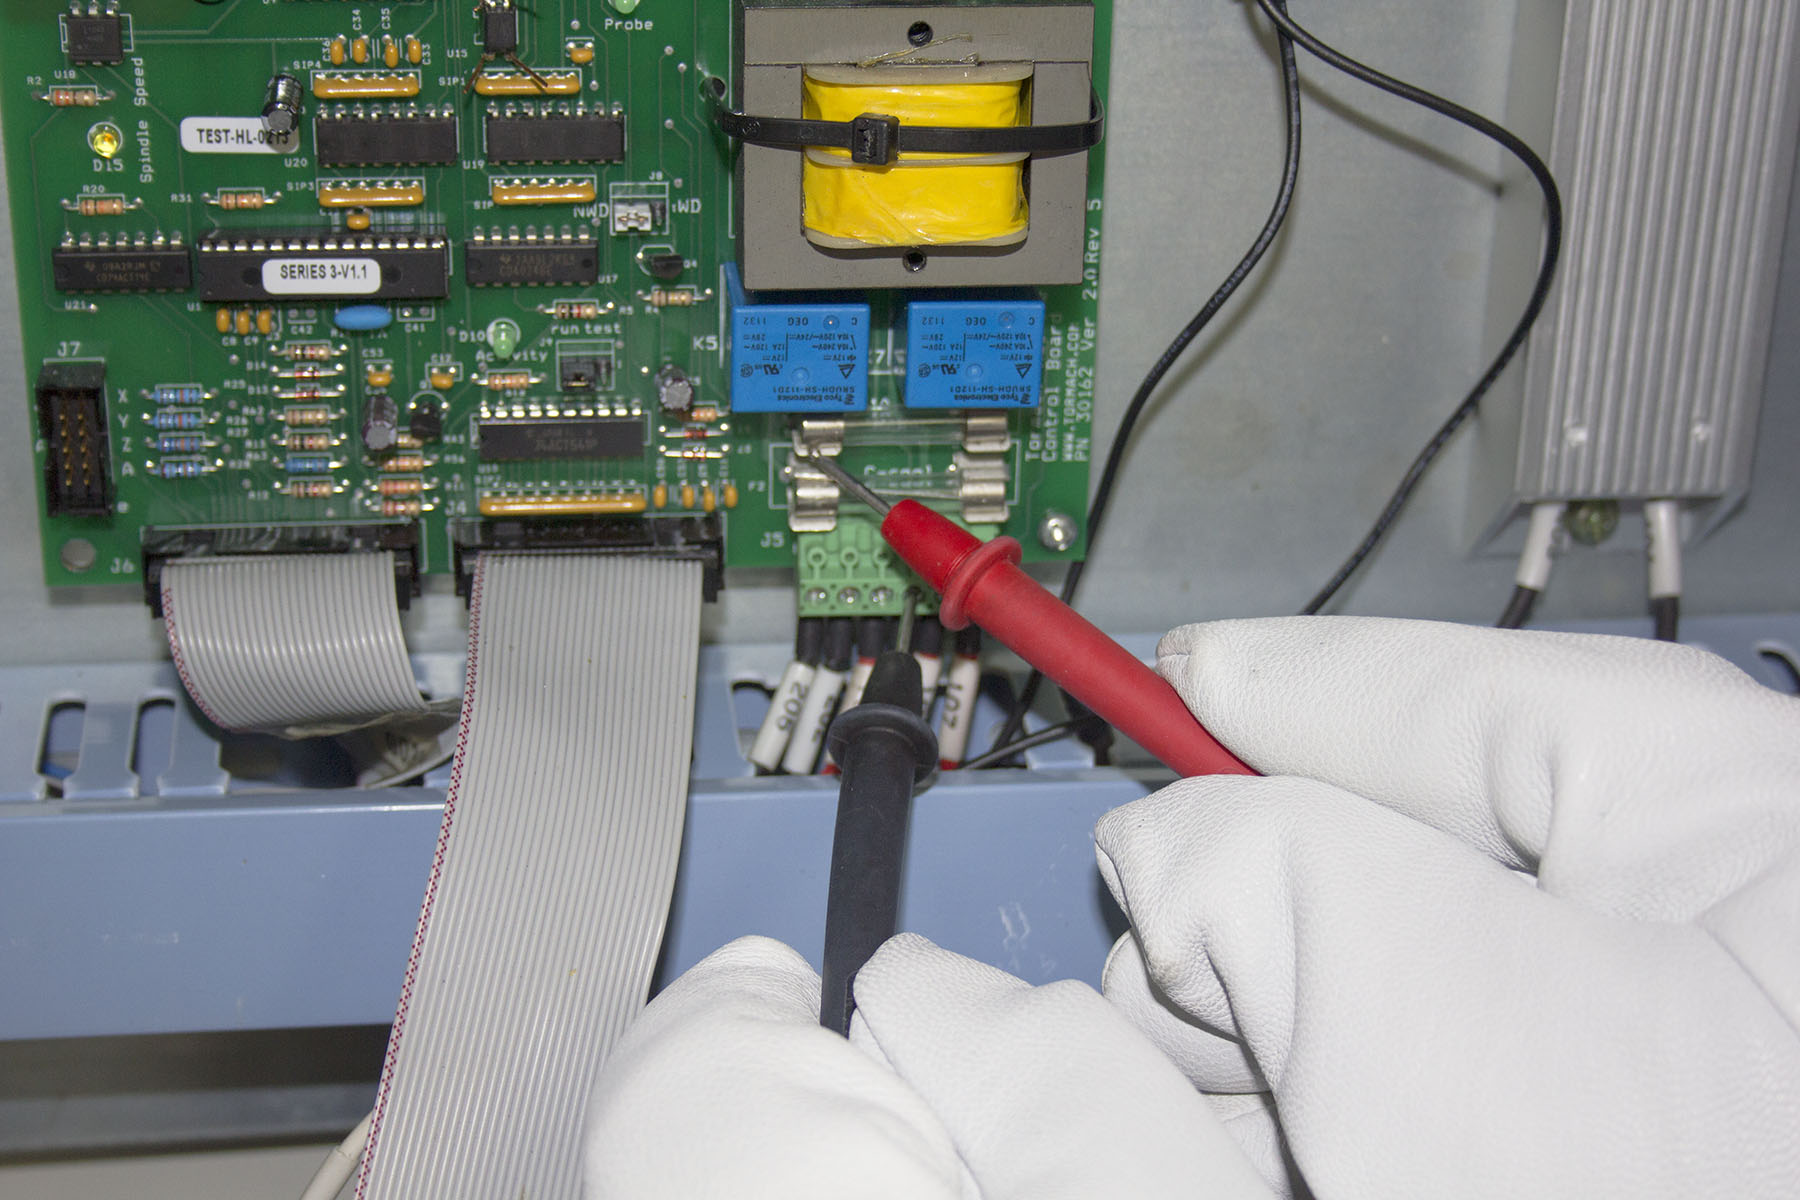
Set the multimeter to AC Volts mode.
- If the multimeter does not auto-range, make sure the range is set to 0-250V.
- Put the black lead of the multimeter on wire 100.
-
Put the red lead of the multimeter on the left end of fuse F1.
- Read the AC voltage that displays. The value should be 100 to 115 Vac.
-
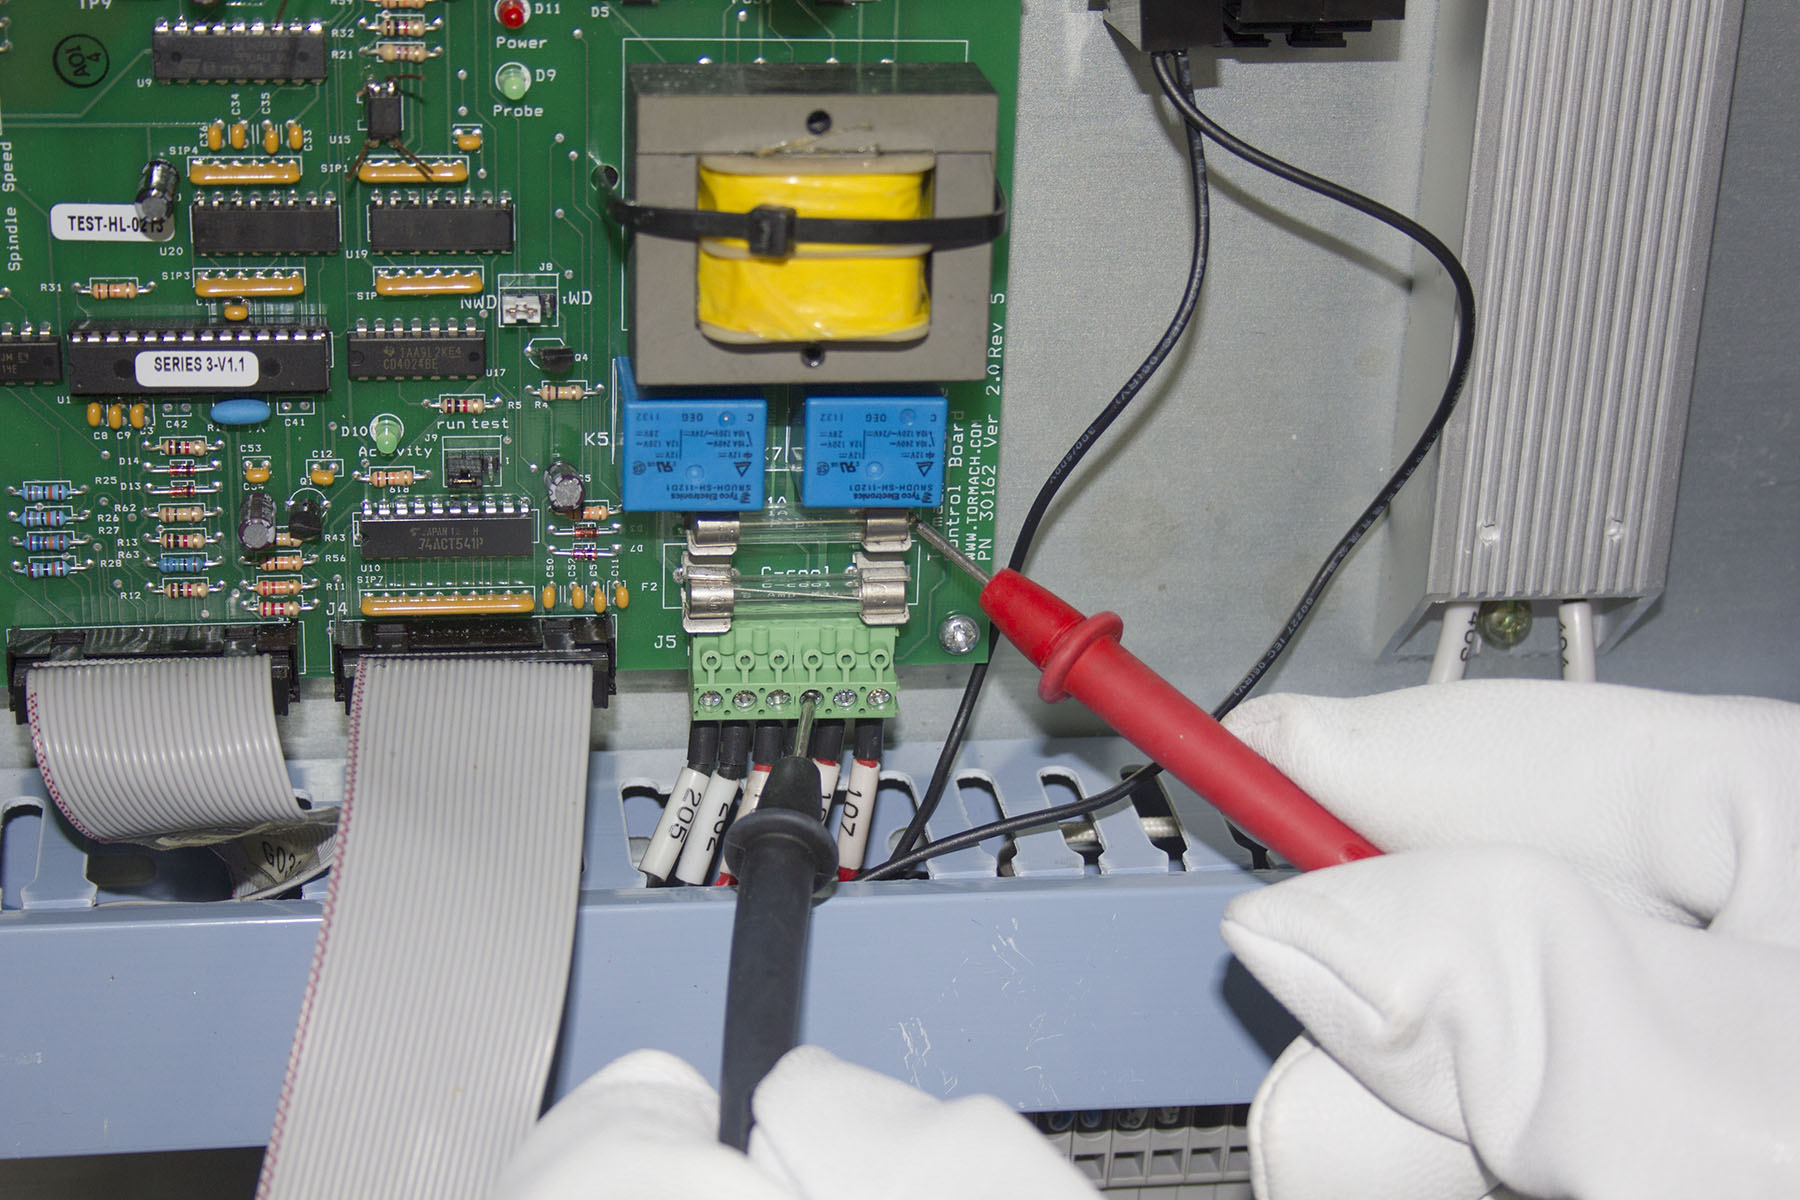
Move the red lead of the multimeter to the right end of fuse F1.

- Read the AC voltage that displays. The value should be 100 to 115 Vac.
NOTE: If you need a replacement, Fuse F1 is 1 ampere and 250-Vac. Fuse FU2 is 8 ampere and 250-Vac fuse. Both are 1-1/4 inch long by 1/4 inch diameter.
Does a value of 100 to 115 Vac display on the multimeter?
- Yes: You've successfully solved the problem! Close out of this troubleshooting guide and go make some chips.
- No: Tormach Technical Support for guidance on how to proceed.